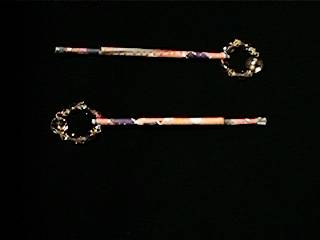
I first published this 'pattern' in 1990 as a fun project in the Lace Guild's 'Young Lacemaker' magazine which I edited at that time. Whilst they may not look as good as turned wooden bobbins they cost very little to make and could be useful if you need extra bobbins at short notice.
The materials required are: paper, scissors, glue, pencil, ruler, fine (2mm) knitting needle (knitting pin), pricking board, drawing pin (thumb tack). Ordinary photocopying paper is quite adequate but patterned wrapping paper looks very effective.
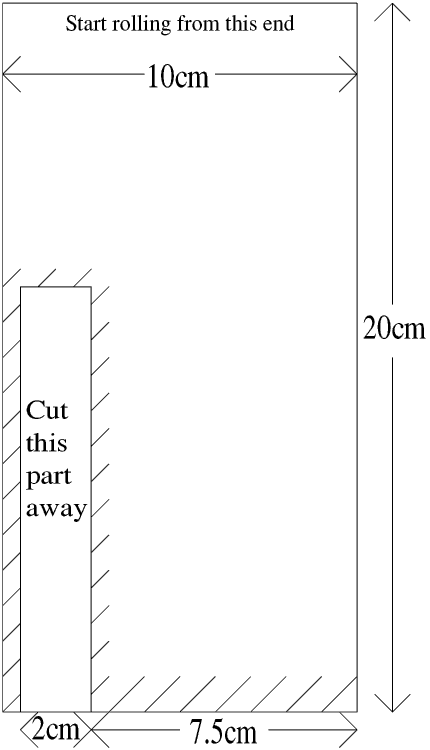
1, Cut out a piece of paper 10cm x 20cm
2, Draw in the area to be cut away, but do not cut yet.
3, Roll the paper tightly around the knitting needle, then unroll it again.
4, Cut out the part indicated and spread glue over the shaded area, (on the back of the paper if it is patterned).
5, Roll up again around the knitting needle, taking care to keep the ends level.
6, When you get to where the paper divides continue winding the narrow strip (to make the head of the bobbin) then go back and finish winding the shank of the bobbin.
7, Pull the knitting needle out and make sure that all the edges of the paper are stuck down.
8, To make the hole for a spangle place the bobbin on the pricking board and pierce a hole with the drawing pin. The bobbin will get a bit squashed but it is easy enough to push back into shape with your fingers.
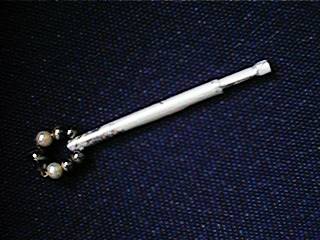
Bobbin made by Geeta Rane in Mumbai
after she was unable to source bobbins locally
in India.