
Since the beginning of the coronavirus pandemic I have made a variety of facemasks using patterns found on the internet, but so many of them are ill-fitting because they are not big enough, or rather not deep enough to be comfortable and cover from well above the nostrils down to below the chin. A mask which is less deep is likely to slip down and not cover the nostrils; thus rendering it totally useless.
There are two basic shapes of mask; the duckbill type with a vertical seam in the centre and the rectangular type with pleats at each side. The rectangular type is much quicker and easier to sew and is what I have based this tutorial on. A mask is secured either by long fabric ties or with elastic. The ties are quite time consuming to make and fiddly to tie around the head. Elastic loops behind the ears are in my experience not particularly comfortable to wear (hence the demand by medical and caring staff for ear protecting bands with buttons) and they also interfere with spectacle frames and especially with behind the ear hearing aids. My solution is to use elastic loops going over the head and around the back of the head.
To have any chance of filtering out particles as small as the Covid-19 virus the fabric used needs to be tightly woven and should include a non-woven layer. For the outside I am using batik fabric which is generally a much tighter weave than regular craft/P&Q cotton. Cotton poplin shirting would also be suitable. For the inside I am using either cotton shirting or fine cotton sheeting. For the non-woven layer I have used dipryl which is used in upholstry to cover the underside of chairs etc and also for inexpensive cushion pad covers. Other suggestions are vilene sew-in interfacing (don't use the fusible type as you don't want to be breathing through the glue!) or cleaning cloths such as J-cloths. I have also tried 100% cotton wadding (batting) but that makes a rather thick mask, as would the yellow washing up cloths.
Cut the three pieces of fabric as in the table below. If you have a quilting ruler and rotary cutter that is probably the easierst method, if not make card templates and draw around those and cut the fabric with sharp scissors. If necessary iron the cotton fabrics, but be very cautious getting an iron near to the non-woven.
| Medium | Large | |
| Outer layer - batik or shirting fabric | 5.5 inches x 10 inches - 14cm x 25cm | 6 inches x 10 inches - 15cm x 25cm |
| Middle layer - Dipryl or Vilene | 4 inches x 4 inches - 10cm x 10cm | 4.5 inches x 4.5 inches - 11cm x 11cm |
| Inside layer - shirting or fine cotton sheeting | 4 inches x 10 inches - 10cm x 25cm | 4.5 inches x 10 inches - 11cm x 25cm |
| Narrow Elastic | 20 inches - 50cm | 21 inches - 52cm |
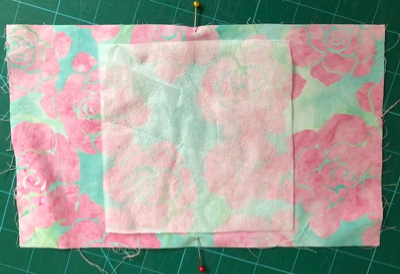
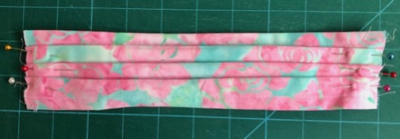
Fold each piece in half to find the centres and mark with pins. Place the non-woven in the centre of the batik/outer layer and then place the inner layer over that.
Use a couple of pins to keep the layers in place
 |
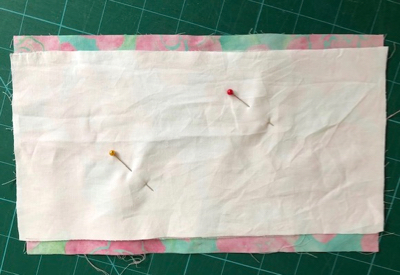 |
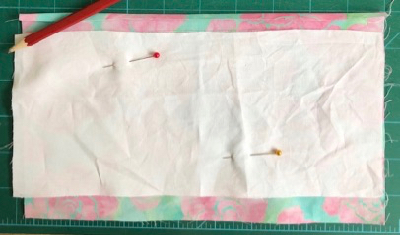
Turn 1/4 inch along one long edge and finger press into place then turn again to make a half inch hem. Repeat on the other side.
 |
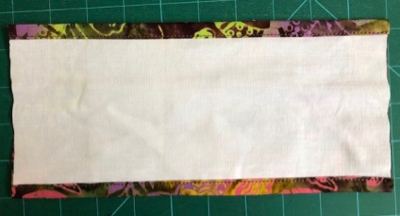 |
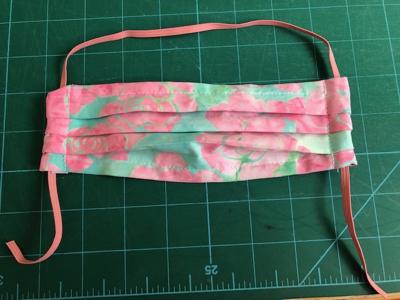
Now make three knife pleats at each end. The pleats will each be about a quarter of an inch deep but the turn of the fabric will make this vary very slightly so I do them by eye. I make the two outer pleats first and then the middle one. The pleats on one end should point to the right and those on the other end should point to the left; ie both going towards the same side edge.
Machine stitch close to the edge of the fabric to secure
the pleats into placce and then press; this will make the next step easier.
Turn a casing at each end making sure that it is wide enough to take your bodkin or safety pin and eleastic, although the multiple layers of fabric will mean that it's unlikely to be too narrow. Machine stitch the casings remembering to back stitch at each end.
I have been using a solidly built vintage Singer 201 machine which sews through all those layers of fabric with ease, but if you have a lighter machine which struggles with so many layers an alternative would be to overlock the edges or to sew a row of close zig-zag or overcast stitches then trim close to the stitching and then
make a single turn.
 |
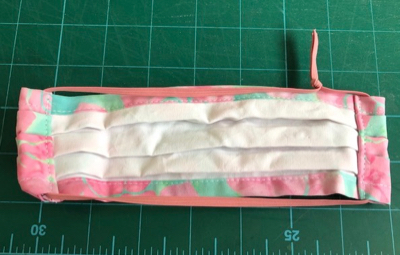 |
With narrow elastic it is often more secure to tie the ends together with an overhand knot rather than sewing it. This also allows for adjustment and the ends can be pulled inside the casing to look neater.
 |
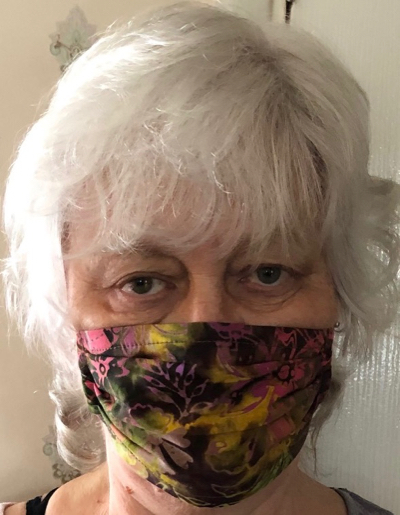 |
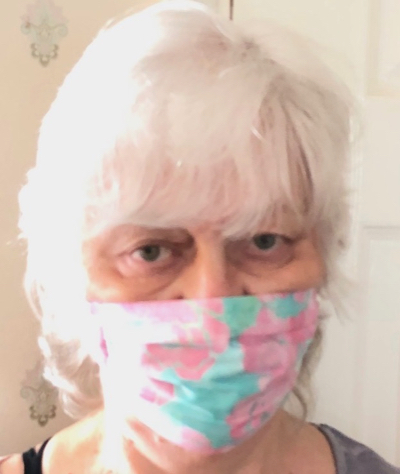
The medium size; although wider than many online instructions is still not quite big enough |
The large size; comes sightly further up the nose and slightly lower on the chin. It makes a difference in wear. |
The masks are worn with the upper loop of elastic going over the crown of the head and the lower loop going around the back of the neck. |
|