In summer 2015 nine on-line friends from The Sewing Forum decided to exchange patchwork blocks with each other.
We each stateded our colour choices and the finished blocks were to be
9" x 9" finished size and with some sort of star pattern.
After that it was personal choice as to what we each made.
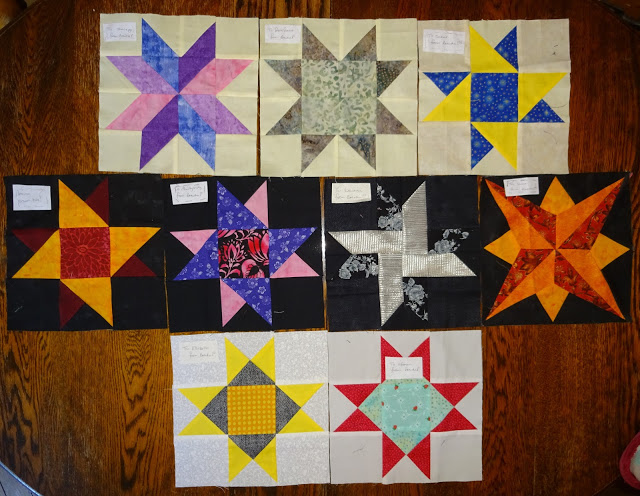
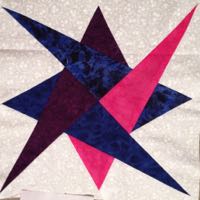
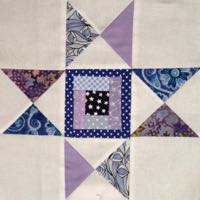
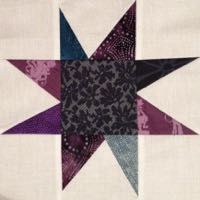
These are the blocks I made - the first one I made for Iminie went all wonky so she got an extra one,
it's the red and orange one on the right.
By the beginning of September we had all posted eight blocks to Iminie and impatiently awaited for the return packages from her.
On 8th September eight lovely patchwork blocks arrived in the post.
 |
 |
 |
 |
From Iminie |
From Lowena |
From QuiltySisty |
From Ellabella |
 |
 |
 |
 |
From FabricFloosie |
From Sakar |
From Sheilago |
From Efemera |
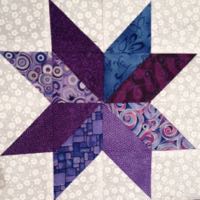
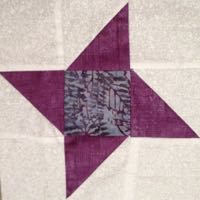
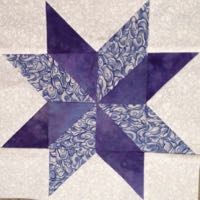
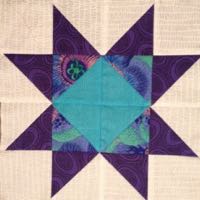
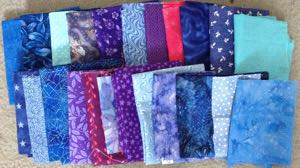
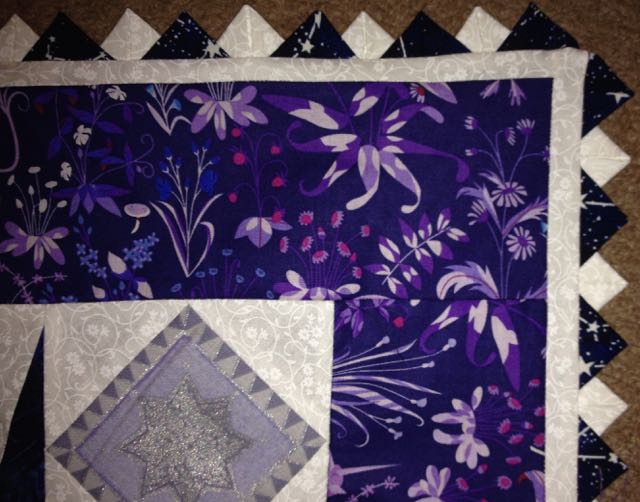
They are an assortment of blues and purples on white backgrounds. Now I have to decide how to put them together.
Because all the white backgrounds are different prints it will need either sashing or spacing blocks in colour to separate them.
Floosie and Sakar have decided for me that the accent colours to give the finished quilt some zing need to be bright turquoise and fuschia pink.
These are the fabrics I have available to use for sashing.
I had planned to make pieced sashing rather like this but I got the little blocks in the wrong order and it ended up like this!
but serendipity as there were now lots more stars in the design.
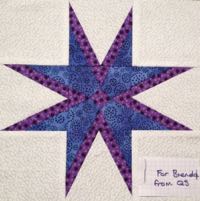
I then made a ninth block using colours from all of the other blocks and hand embroidered the name of each star swapper onto it
and positions their blocks nearest their names.
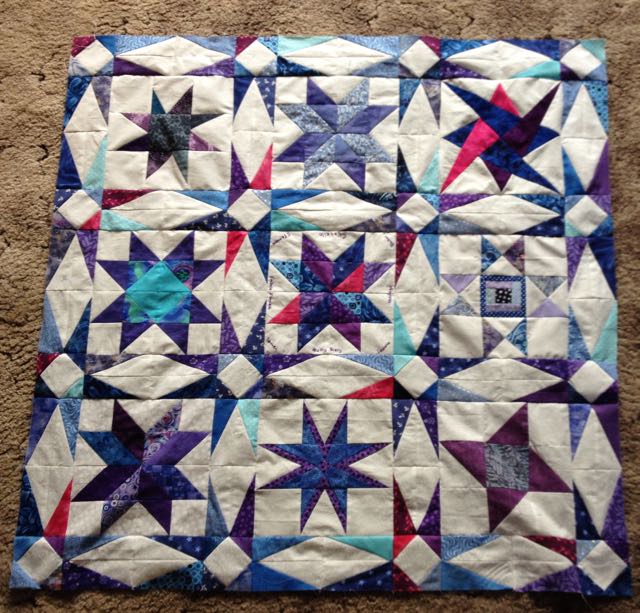
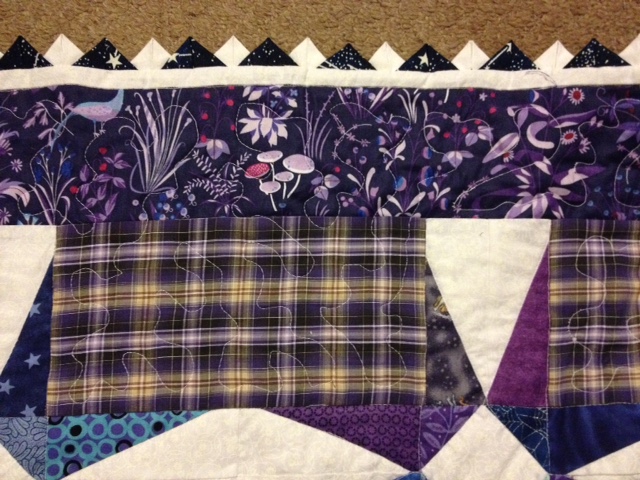
As soon as I saw the photo at this stage I realised that the sashing stars all needed to be complete, so using more stash fabric
I made a border intersected with the missing star points.
I used a plaid fabric which wasn't very stable so I measured and cut one piece very carefully and then cut all the other pieces following the lines of the plaid.
I used shears for this rather than my rotary cutter.
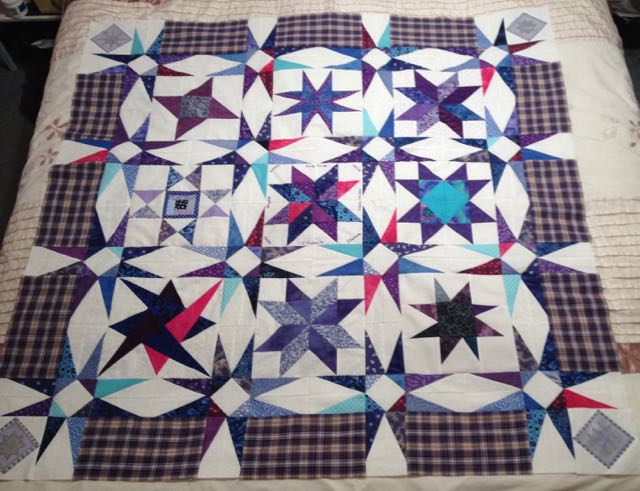
Now it just needs a single fabric border and the binding.
 |
 |
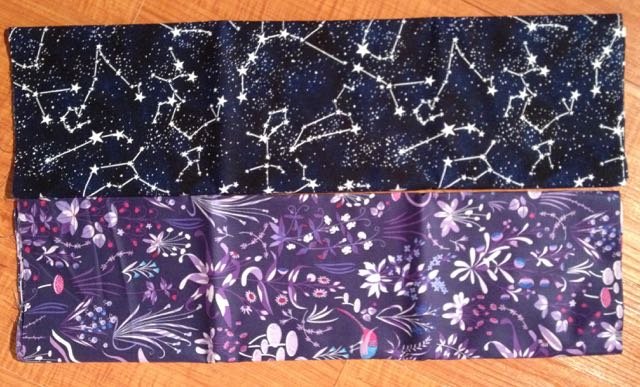
| These are the two fabrics I bought; the purple for the border because it has exactly the right colours including flashes of fuschia pink. Half a metre yielded 5 x 4" strips across the width and I needed one and a quarter strips for each side. The wastage was minimal! | |
Discussions on The Sewing Forum included a thread about special borders and Prairie Points, which inspired me to finish my quilt top with
a very narrow white border and navy and white
Prairie Points.

I decided to make the type of Prarie Points that are folded along the grain and then the corners turned under. The other way is two diagonal folds.
I used 2" x 2" squares which took forever to cut and fold. I pinned then stitched all the navy points to the white border so that the edges of the triangles were
just touching each other, then I pinned the navy points into the gaps between the white and stitched over the same line of stitches.
I found it easier to use longer pins (40mm instead of my usual 32mm ones).
The quilt was completed with in-the-ditch around all the stars and free motion meandering on the borders.
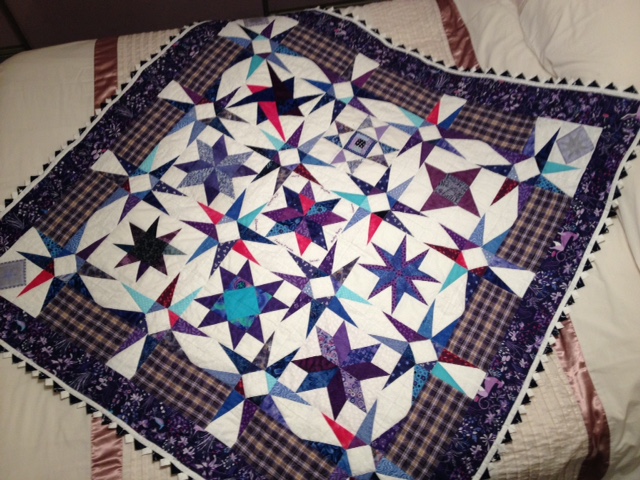
Quilt completed 01 November 2015.